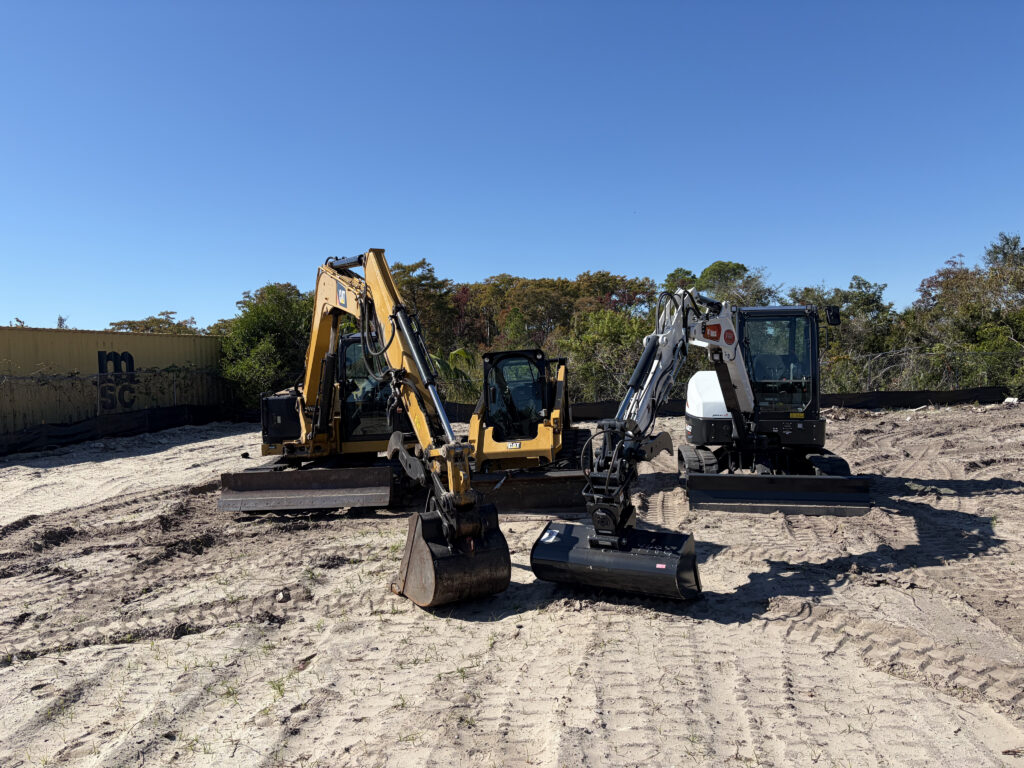
Getting land ready to build on follows a set order: survey the property first, clear only what the plan requires, grade the pad and driveway, then handle whatever permits the work triggers. Do these steps out of order, and you risk clearing the wrong section, grading before you know where water needs to go, or stalling your build waiting on paperwork you should’ve started weeks earlier.
What Site Preparation for Construction Involves
Site preparation is the work that turns raw land into a buildable lot. It usually includes a boundary survey, clearing trees and brush from the building envelope, rough grading for drainage and pad elevation, and any permits your county requires before equipment shows up. Skip a step, and the ones after it get more expensive to fix.
| Step | What Happens | Typical Timing |
| Survey | Confirms property lines, setbacks, and easements | 1–2 weeks to schedule and receive results |
| Clearing | Removes trees and brush from the building footprint | A few days to a week, depending on lot size |
| Grading | Shapes the pad and driveway for proper drainage | A few days, right after clearing finishes |
| Permits | Approvals for clearing, grading, or driveway work | Varies by county, often 2–6 weeks |
Step 1: Get a Survey Before You Touch Anything
A licensed survey marks your actual property lines, easements, and any setback requirements you have to build within. It’s the first call to make, before a chainsaw or excavator ever reaches the property.
A good survey shows your exact boundary corners, any recorded easements for utilities or access, and the required setback distance from each property line. It also flags wetland boundaries if any run through the lot, which is common on undeveloped acreage in this part of Florida.
Without it, you’re guessing. Setback lines, wetland boundaries, and utility easements aren’t always where they look like they should be, especially on wooded acreage where old fence lines and tree breaks get mistaken for the real boundary.
Pro Tip: Order your survey before you finalize house plans, not after. Moving a pad eight feet costs a lot less on paper than it does once the ground is already cleared.
Step 2: Clear Only What the Build Requires
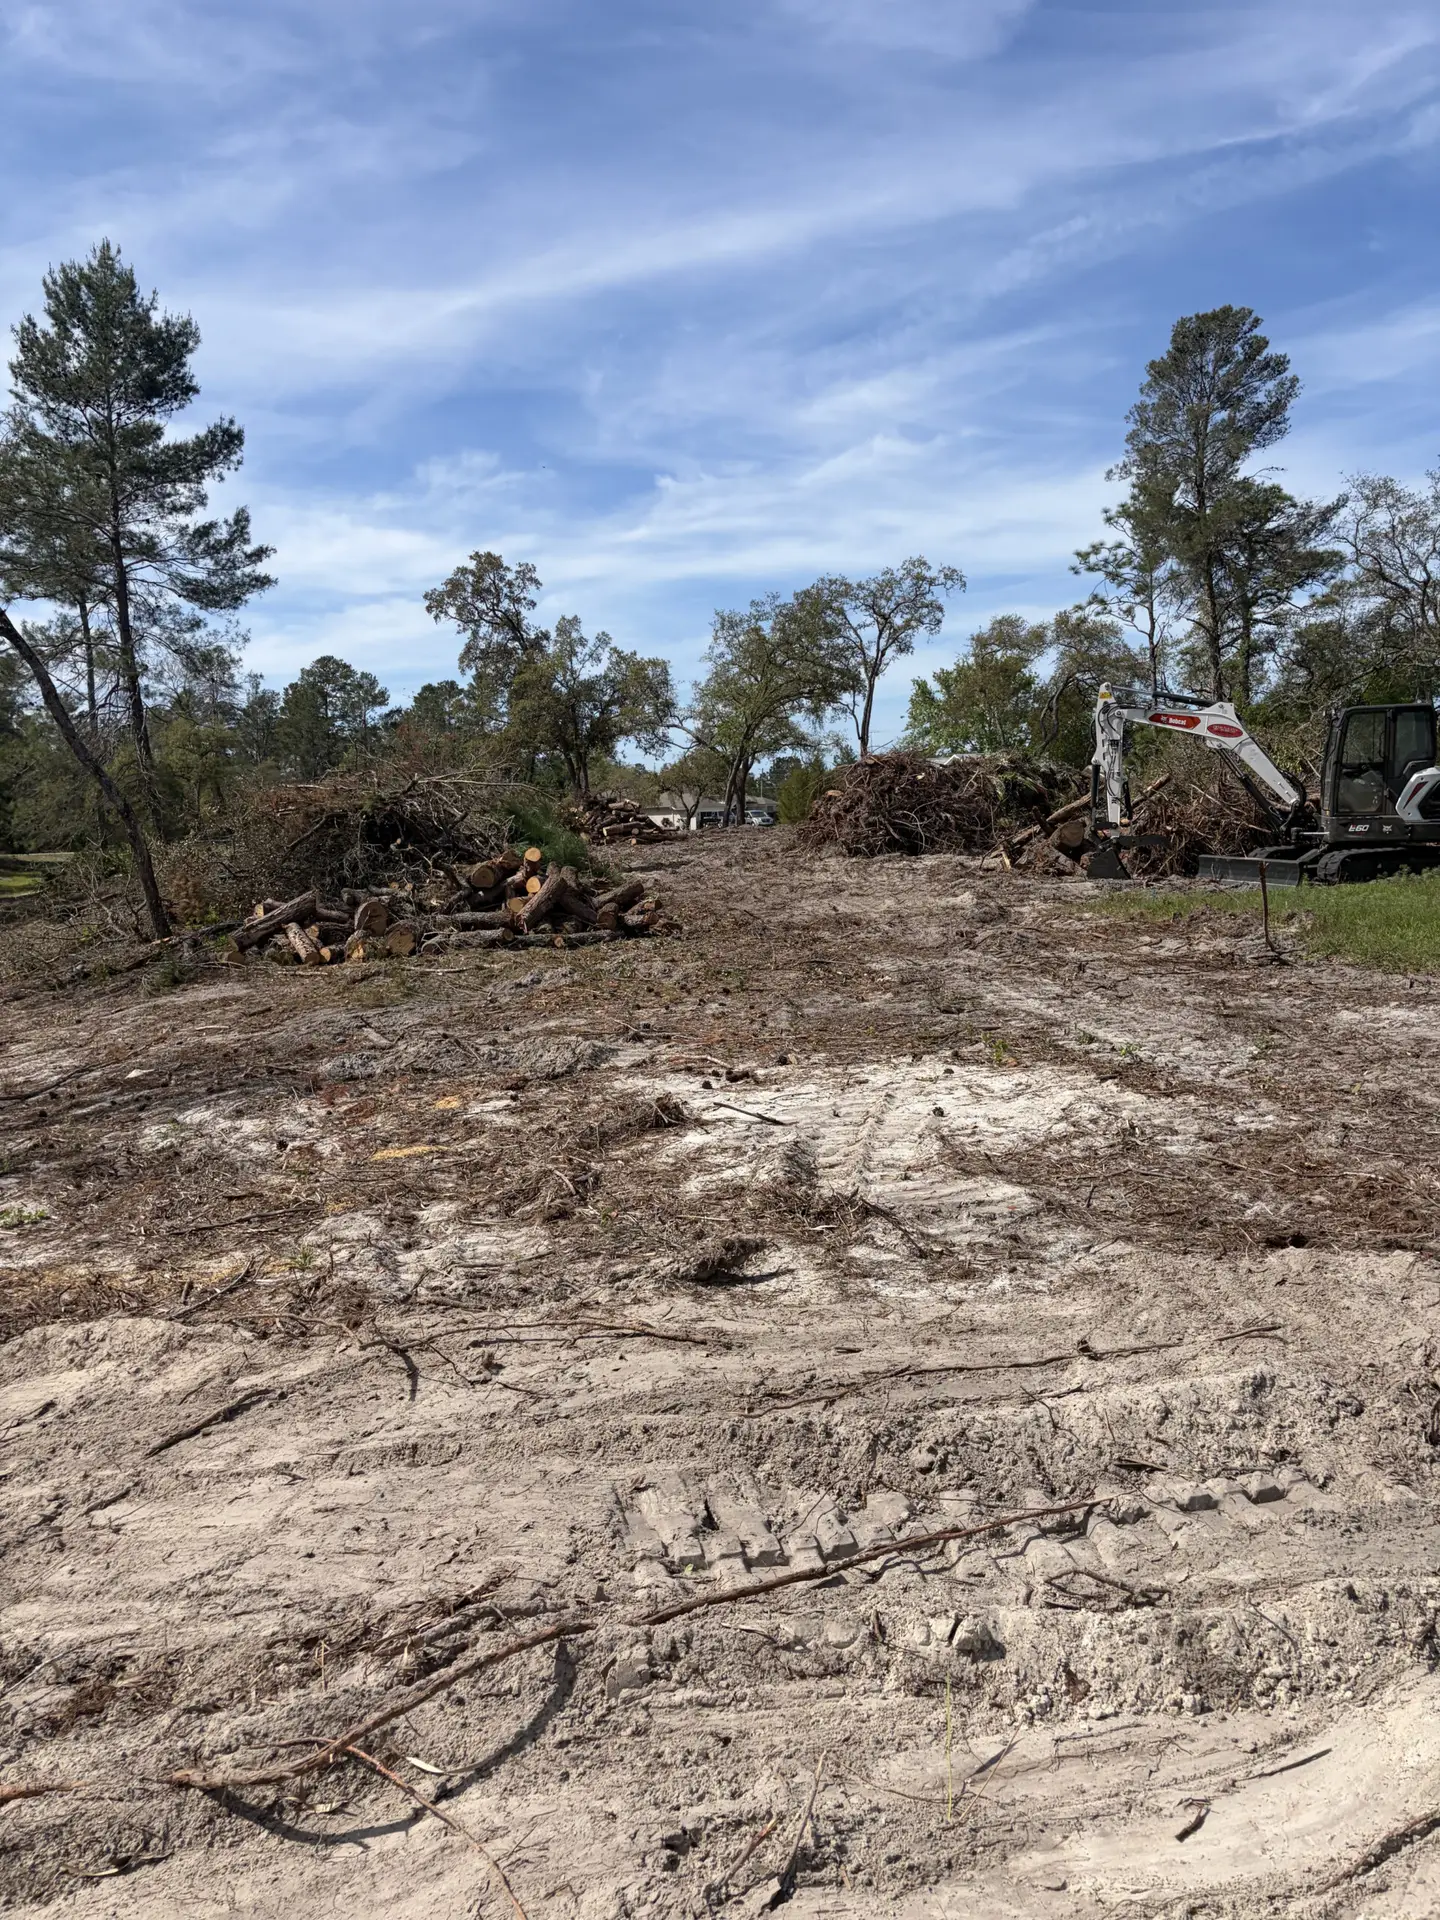
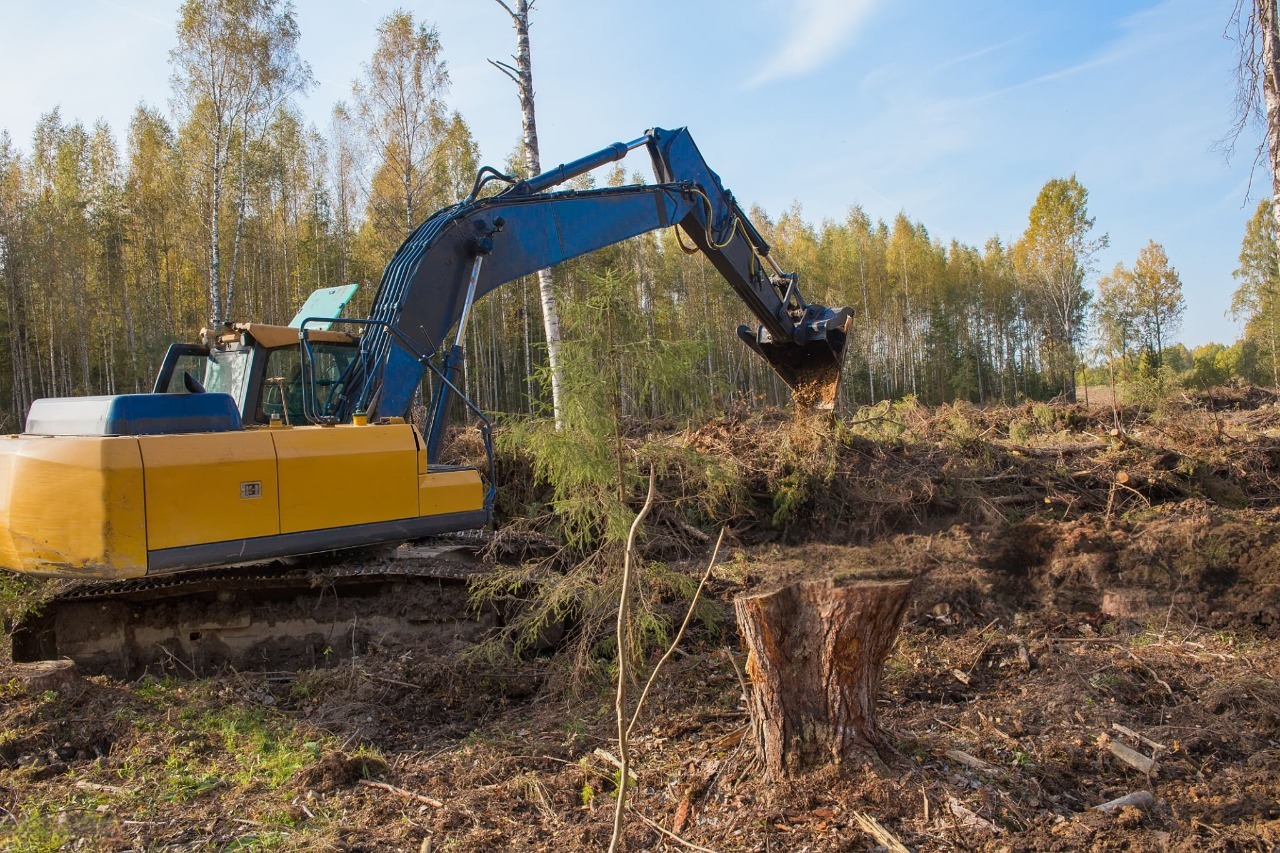
Once the survey is in hand, clearing should follow the building envelope, not the whole lot. Selective clearing — taking down what’s inside your building and driveway footprint, plus a reasonable buffer — costs less than full-lot clearing and leaves more of the property’s tree cover intact for later.
Debris gets handled a few ways: chipped, hauled off, or mulched back into the ground. The right method depends on volume and what your county allows for on-site disposal. Larger jobs are usually more cost-effective to chip or haul away, while smaller lots sometimes allow controlled burns with the right permit.
Did You Know? A wooded lot doesn’t need to be scraped bare to build. Many counties only require clearing within the pad, driveway, and utility run — leaving the rest standing is often the cheaper option, but rules vary, so check with your county first.
Our land clearing service works from your survey lines for exactly this reason — clearing to the plan, not past it.
Step 3: Grade the Pad, Driveway, and Drainage Paths
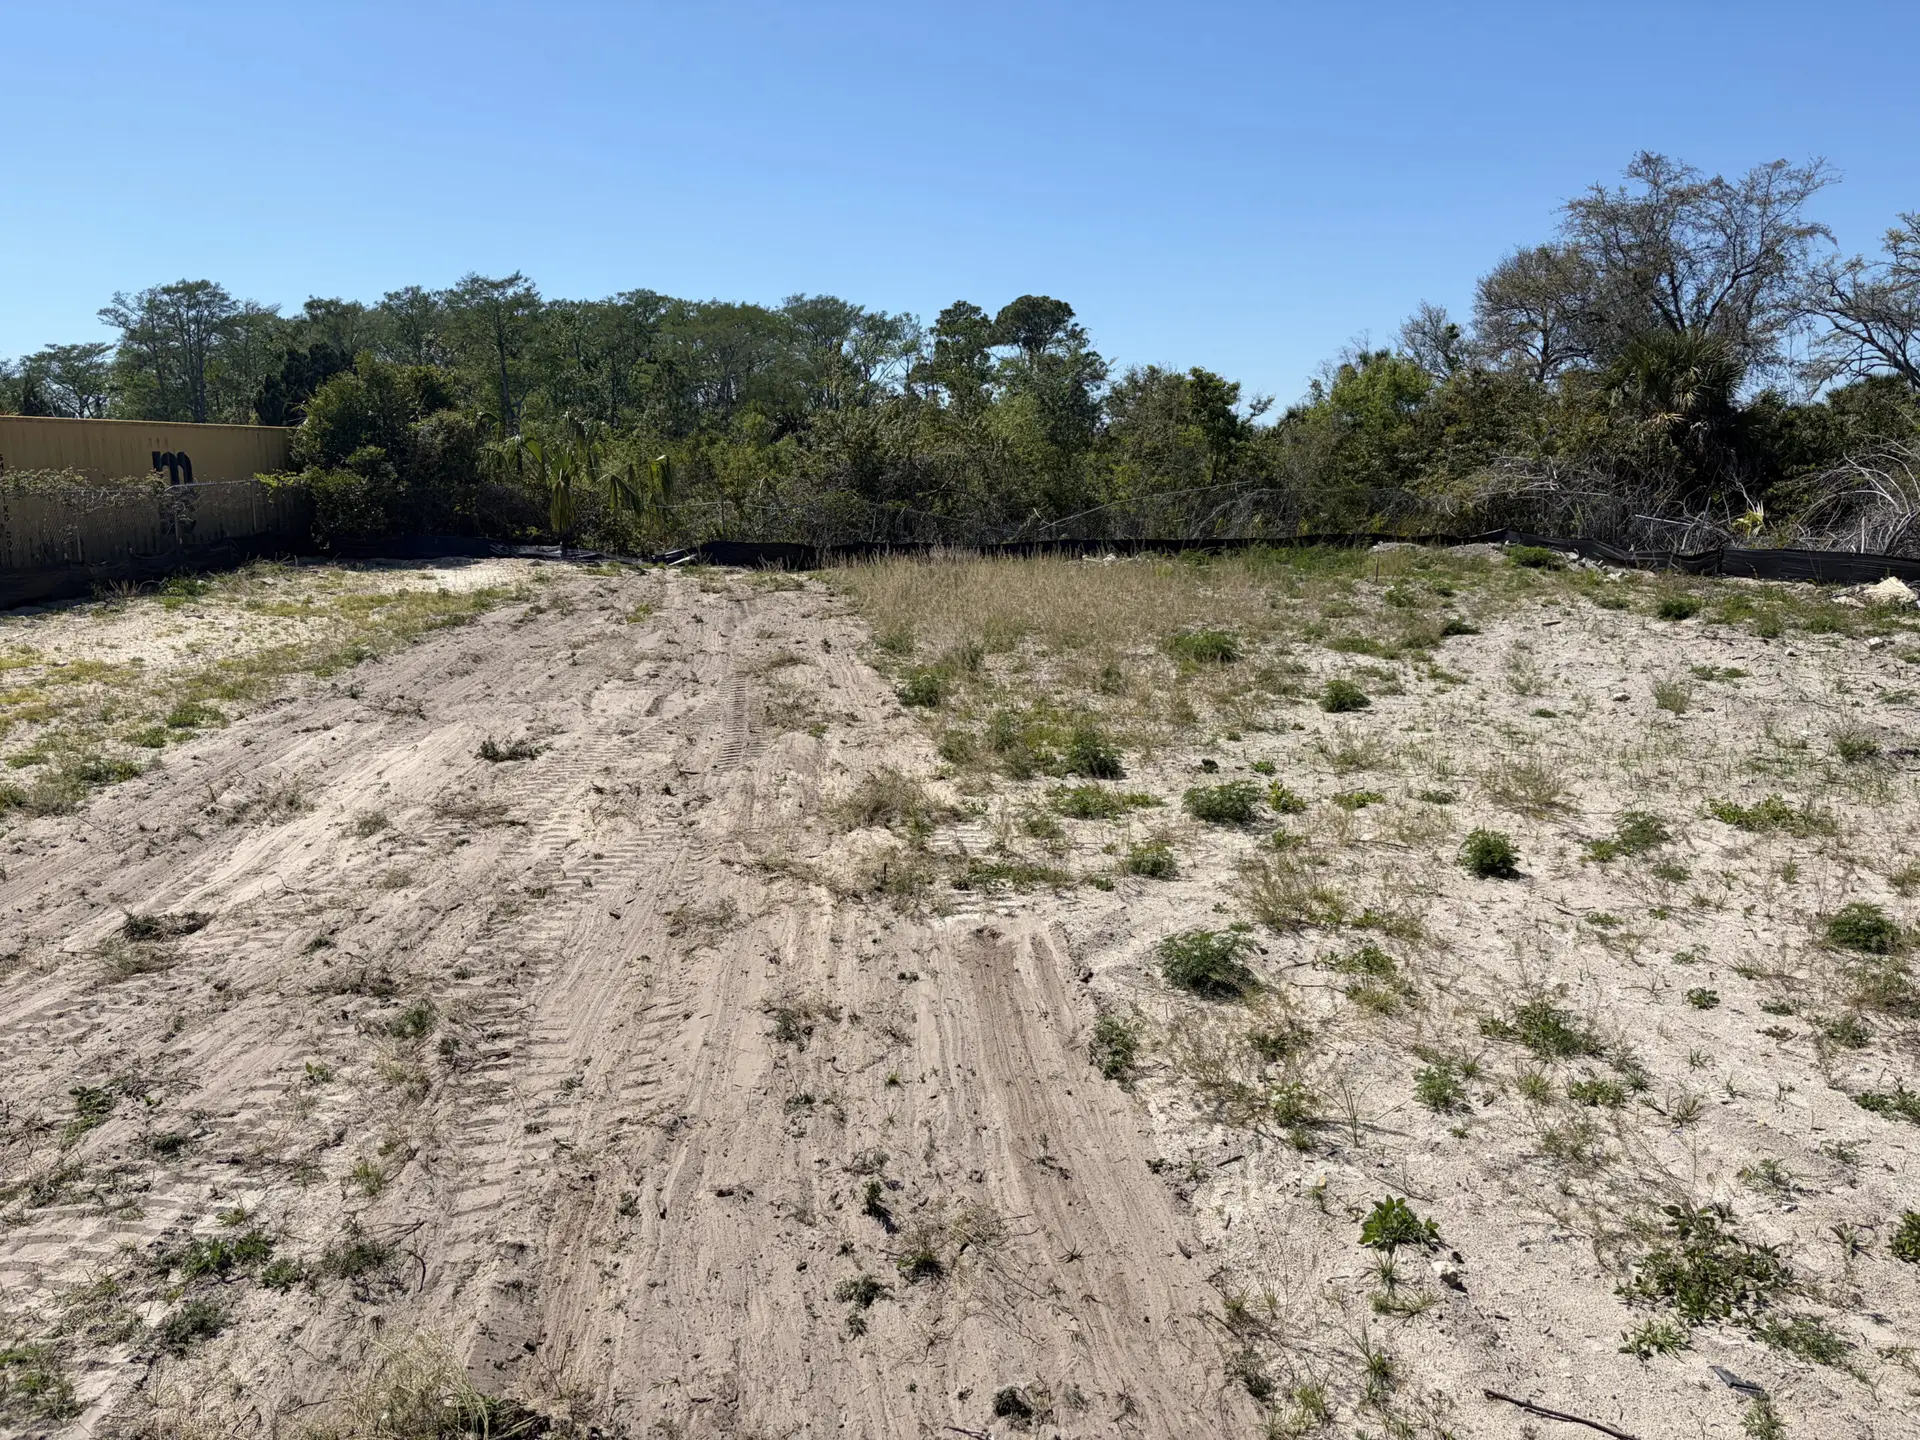
Grading comes after clearing, never before. You can’t shape the ground accurately with stumps and root balls still in it, and grading equipment works better on cleared, visible terrain.
The real goal of grading isn’t a flat lot — it’s water moving away from where your foundation will sit. A pad graded flat or, worse, sloped toward the house is one of the most common and expensive mistakes to correct after a home is built.
Timing matters too. Scheduling grading before Florida’s summer rain season starts gives the ground more time to settle and compact before a foundation goes in. Grading during heavy, consistent rain can wash out fresh work and add cost down the line.
Did You Know? Florida’s flat terrain and heavy rain seasons make proper pad elevation more important than in drier climates. A few inches of grade in the wrong direction can mean standing water against a foundation within the first year.
Checking USDA’s free soil survey tool before grading starts will tell you how your soil drains and whether you’re dealing with anything that changes the grading plan. Our rough grading service picks up right where clearing leaves off.
Step 4: Line Up Permits Before They Stall the Build
Permit requirements vary by county, but land clearing, grading, and driveway work commonly trigger one — especially near wetlands, on larger lots, or where tree ordinances apply. Start this process early. Permits can take longer than the physical work itself.
Depending on the scope of your project, you may need more than one approval — a land disturbance permit for clearing and grading, plus a separate driveway or right-of-way permit if you’re adding new access to a county road. Filing these together, rather than one at a time, is usually the faster path.
Before grading, it’s worth confirming your property’s flood zone status. FEMA’s Flood Map Service Center shows this for free by address, and it affects both your grading plan and your insurance down the line.
Pro Tip: Call your county building department before you clear a single tree. A five-minute call can tell you whether your project needs a permit, saving you from stop-work orders mid-project.
A Site Prep Mistake We See Often
It’s a mistake we see often on wooded lots: the property gets mowed and rough-cleared before anyone confirms the setback line. The owner has already picked a spot for the pad. Once the real boundary comes back from the surveyor, the pad often has to shift several feet, meaning a strip that was already cleared or graded has to be redone.
It shows up more on larger, wooded lots, where the tree line makes the property feel bigger than the buildable area actually is. Confirming your survey before clearing starts is the cheapest insurance you can buy on a build.
If a survey shifts your plan after some ground work is already done, our skid steer services can handle the correction without bringing in bigger equipment than the fix requires.
Getting Started on Your Site Prep
The order matters more than the individual steps: survey, then clear, then grade, then permit alongside the work. Getting this sequence right the first time is what keeps a land-prep budget from creeping up mid-project.
If you’re planning a build in Pasco, Hernando, Citrus, or Sumter County, start your land clearing project — contact us for a free site walkthrough and we’ll walk your property with you before anything gets touched.
Frequently Asked Questions
How long does it take to prepare land for construction?
It depends on lot size, tree density, and terrain, but most residential lots take anywhere from a few days to two weeks for clearing and grading combined. Permit wait times can add several weeks on top of the physical work.
Do I need a permit before clearing land for a new home?
Often, yes — especially if wetlands, protected trees, or lot size thresholds apply in your county. Check with your local building department before work starts to avoid a stop-work order mid-project.
What’s the difference between clearing and grading?
Clearing removes trees, brush, and stumps from the property. Grading shapes the exposed ground afterward for proper drainage and a level building pad — the two steps happen in that order, not together.
Should I get a soil test before building?
It’s worth doing, particularly on lots with unknown drainage history. A soil test or the free USDA soil survey can flag issues like poor drainage or unstable soil before they turn into foundation problems later.